Deploy code faster with Kubernetes
June 29, 2020
First, let us address the underlying question:
What can Kubernetes offer compared to a basic development workflow?
With Kubernetes explained, the developer can write some codes, send it, and get it working. It is also essential that the development environment be as alike as attainable to production (this is because having two different environments will introduce bugs.)
In this blog, “Deploy code faster with Kubernetes ” we will walk you through kubernetes quickstart workflow built around:
Kubernetes | Docker | Envoy/Ambassador.
What is Kubernetes?
Kubernetes is an open-source container management tool. An orchestration tool with container management responsibilities combining container deployment, scaling & descaling of containers & load balancing.
Note: How kubernetes works is not a containerization platform. It is a multi-container management solution.

Why Use Kubernetes?
Businesses today may be using Docker or Rocket or Linux containers for containerizing their applications on a massive scale. They use 10’s or 100’s of containers for load balancing traffic and ensuring high availability.
As Container Management and orchestration tools, both Docker Swarm and Kubernetes are very popular. Although Docker Swarm might be popular as it runs on top of a Docker, when we have to choose between the two, Kubernetes is the undisputed market leader. This is partly because it is Google’s brainchild and partly because of its better functionality. Further one of the features Kubernetes has which Docker Swarm is missing is the auto-scaling of containers.
Kubernetes Features
Now that you know about Kubernetes, let’s look at its features:
1. Automatic Bin packing
Kubernetes naturally bundles your application and schedules the containers based on their prerequisites and accessible assets while not giving up accessibility. To guarantee total usage and save unused assets, Kubernetes balances among basic and best tasks at hand.
2. Service Discovery & Load balancing
With Kubernetes, there is no reason to stress over networking and communication. This is because Kubernetes automatically assigns IP addresses to containers and assigns a single DNS name for a set of containers that can load-balance traffic inside the cluster.
3. Storage Orchestration
Kubernetes allows you to mount the storage system that you prefer. You can either go for local storage or go for public cloud storage. For example: GCP / AWS or a shared network storage system like NFS, iSCSI, etc.
 4. Self-Healing
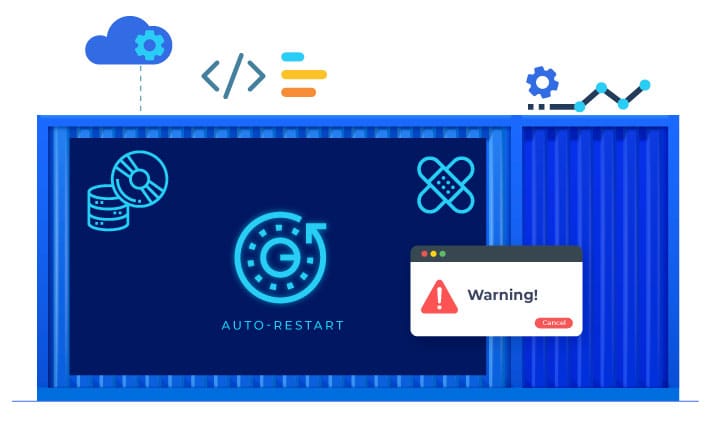
Kubernetes automatically restarts the containers when there is any execution failure, kills the non-responding containers during health-checks. In scenarios, where the nodes die, the same is replaced and the failed containers are rescheduled on other available nodes.
5. Secret & Configuration Management
With Kubernetes you can deploy and update secrets. You can also configure applications without exposing secrets in your stack configuration and without rebuilding your image.
6. Batch Execution
Kubernetes manages batch and CI workloads along with managing services. With this, you can replace desired containers that fail.
7. Horizontal Scaling
While you are using CLI, to scale up and scale down the containers, Kubenetes allows you to do the same with only 1 command. You can also do scaling with the Kubernetes Dashboard.
8. Automatic Rollbacks & Rollouts
Kubernetes progressively rolls out changes and updates to your application or its configuration, by ensuring that not all instances are worked at the same instance. Even if something goes wrong, Kubernetes will roll back the change for you.
These were some of the notable features of Kubernetes.
Now let us move to best practices of Kubernetes that you can easily apply to your clusters.
Though Kubernetes can be complex to manage and configure, it seamlessly automates container lifecycle management applications. In the next few sections, we will show you ten best practices of Kubernetes, and how easily you can apply them to your cluster.
Kubernetes Best Practices
1. Disallow root user
All processes in a container run as the root user (uid 0), by default. To prevent the potential compromise of container hosts, it is important to specify a non-root and least-privileged user ID when building the container image and make sure that all application containers run as a non-root user.
2. Disallow privileged containers
Privileged containers have unrestricted host access, where like other containers the host’s uid 0 is mapped to the container uid 0. If settings are not defined properly, a process can gain privileges from the parent. Application containers should not be allowed to execute in privileged mode. and privilege escalation should not be allowed.
3. Disallow adding new capabilities
Linux defines and fine-grains permissions by using its capabilities. Although you can add capabilities to excel to the level of kernel access to allow the particular behaviors, it is advisable not to. Kubernetes makes sure that the application pods do not add any new capabilities at runtime.

4. Disallow changes to kernel parameters
The Sysctl interface allows modifications to kernel parameters at runtime. In a Kubernetes pod these parameters can be specified as part of the configurations. Kernel parameter modifications can be used for exploits and adding new parameters should be restricted.
5. Disallow use of bind mounts (hostPath volumes)
Kubernetes pods can use host bind mounts (i.e. volumes and directories mounted on the host) in containers. Using host resources can enable access of shared data or may allow privilege escalation. Along with using host volumes couples application pods to a specific host, the usage of bind mounts should not be allowed for application pods.
6. Access to the docker socket bind mount to be disallowed
Since the access to the Docker daemon (on the node) is allowed by the docker socket bind mount, this can be utilized to escalate and manage containers outside. Due to the same, for application workloads, the docker socket should not be allowed.
7. Not to allow the use of ports and host networks
With Kubernetes, the interface of the container host network allows pods to share the host networking stack and allows any potential snooping of network traffic across pods.
8. Keep the root filesystem in “read-only”
Since the container only needs to write on mounted volumes which can persist state, even if the container exists. The root filesystem in “read-only” is good to put in place an immutable infrastructure strategy. An immutable root filesystem can also prevent malicious binaries from writing to the host system.
9. Require pod resource requests and limits
Application workloads share cluster resources. Hence, it is important to manage resources assigned for each pod. Keeping requests and limits configured per pod and including CPU and memory resources are good practices.
10. Require liveness probe and readiness probe
Liveness and readiness probes help manage a pod’s life cycle during deployments, restarts, and upgrades. If these checks are not properly configured, pods may be terminated while initializing or may start receiving user requests before they are ready.
Conclusion –
One thing developers love about open-source technologies, like Kubernetes is the potential for fast-paced innovation. It wasn’t until a few years ago that developers and IT operations folks had to readjust their practices to adopt to containers—and now, they have to adopt container orchestration, as well. Enterprises hoping to adopt Kubernetes need to hire professionals who can code, as well as knowing how to manage operations and understand application architecture, storage, and data workflows.
Keep reading about
LEAVE A COMMENT
We really appreciate your interest in our ideas. Feel free to share anything that comes to your mind.
Our 16 years of achievements includes:
-
10M+
lines of codes
-
2400+
projects completed
-
900+
satisfied clients
-
16+
countries served


